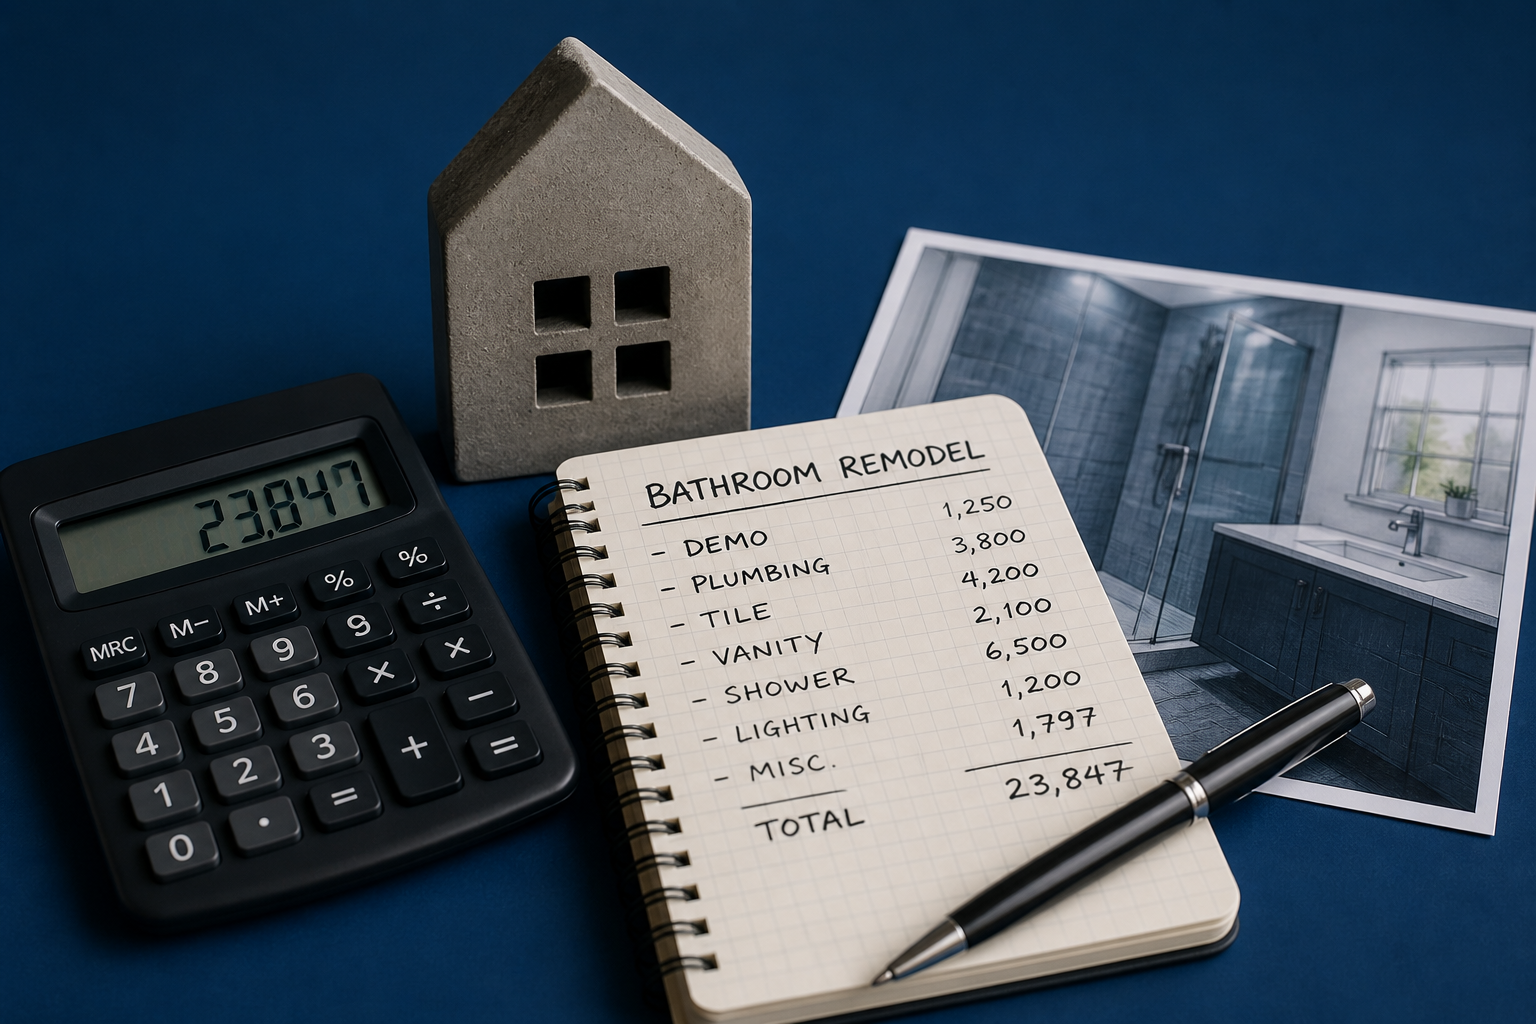
A bathroom remodel looks simple from the outside: demo the old bathroom, install the new bathroom, clean up, done. But once you open walls, floors, plumbing, and tile, there is a real sequence that separates a clean remodel from a stressful mess.
This guide walks through what homeowners in Salt Lake County should expect when Devco takes a bathroom from outdated or damaged to finished. Not theory — real jobsite order, real communication, and the exact points where good contractors protect you from surprises.
"The remodel itself is not what scares most homeowners. What scares them is not knowing what happens next. My job is to keep the job moving and keep you informed so you never feel like your bathroom just got torn apart and abandoned."
Step 1: Walkthrough, Scope, and Real Expectations
The best remodels start before demo day. We walk the bathroom, talk through what is staying, what is moving, what is being replaced, and what the realistic budget needs to be. This is where we talk about tile, shower systems, vanity size, plumbing changes, electrical, ventilation, and hidden-risk areas.
For older homes in West Valley City, Murray, Sandy, Magna, Clearfield, and other Salt Lake County areas, I pay close attention to flooring around the toilet and tub, stains near baseboards, soft spots, old valves, and previous DIY work. Those signs do not automatically mean disaster, but they tell us where surprises are most likely.
A good estimate is not just a total price. It should explain scope, materials, labor, timeline, and what happens if hidden damage is found. That is what protects both the homeowner and the contractor.
Step 2: Demo Day — The Bathroom Starts Talking
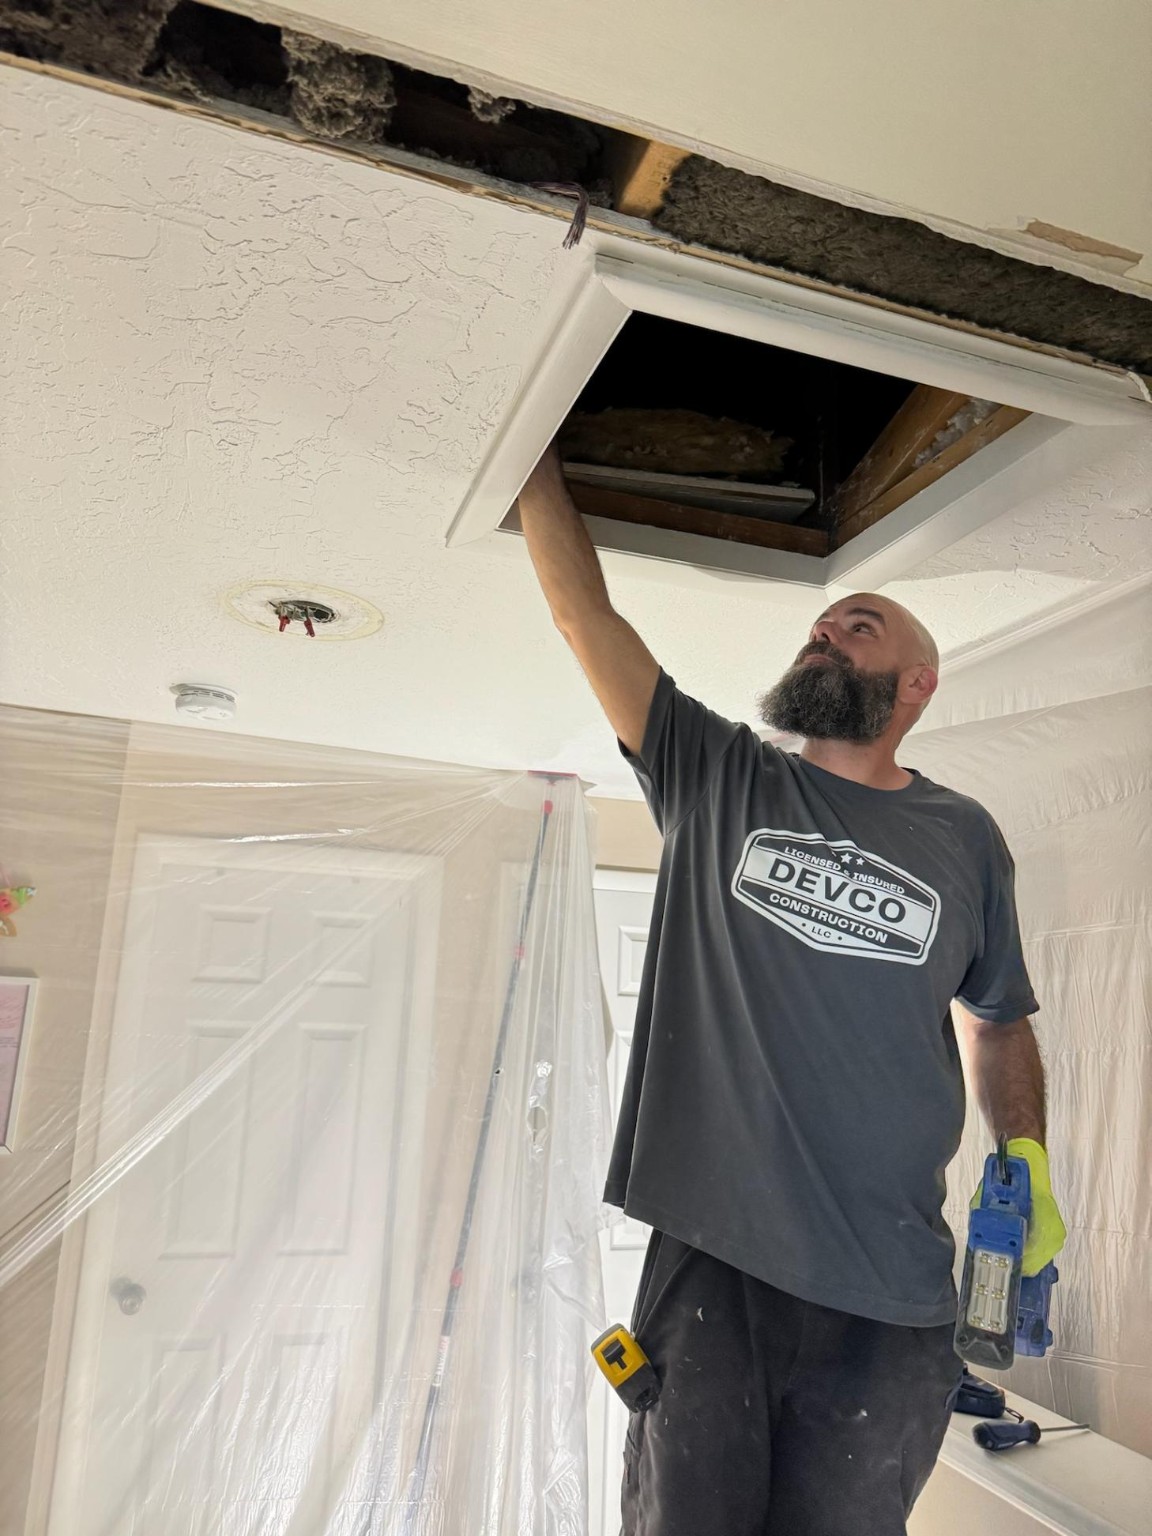
Demo is where the truth comes out. Old tile, drywall, surrounds, flooring, tubs, and vanities come out in a controlled order. The goal is not just to tear things apart fast — the goal is to expose what needs to be rebuilt without damaging what should stay.
This is also where we may discover old water damage, poor previous repairs, plumbing that needs correction, unlevel surfaces, or framing that needs attention. When that happens, the right move is simple: stop, document it with photos, explain what was found, and give the homeowner options before moving forward.
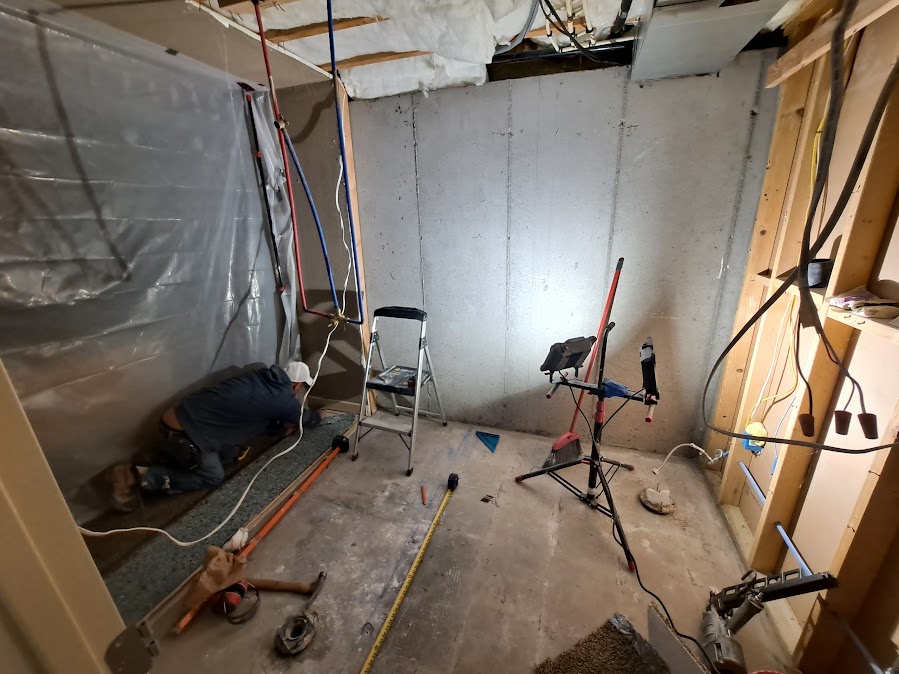
Step 3: Prep Is Where the Quality Is Built
Homeowners notice the finished tile, fixtures, paint, and glass. Contractors know the real quality is built in prep. That means framing surfaces flat, addressing subfloor issues, confirming plumbing placement, installing proper backer board or wall prep, waterproofing wet areas, and making sure corners and transitions are ready before finish materials go in.
Skipping prep is how bathrooms fail early. A shower can look great on day one and still be built wrong. That is why Devco treats prep as part of the remodel, not as something rushed through to get to the pretty stuff.
Step 4: Install — Tile, Panels, Fixtures, and Finish Work
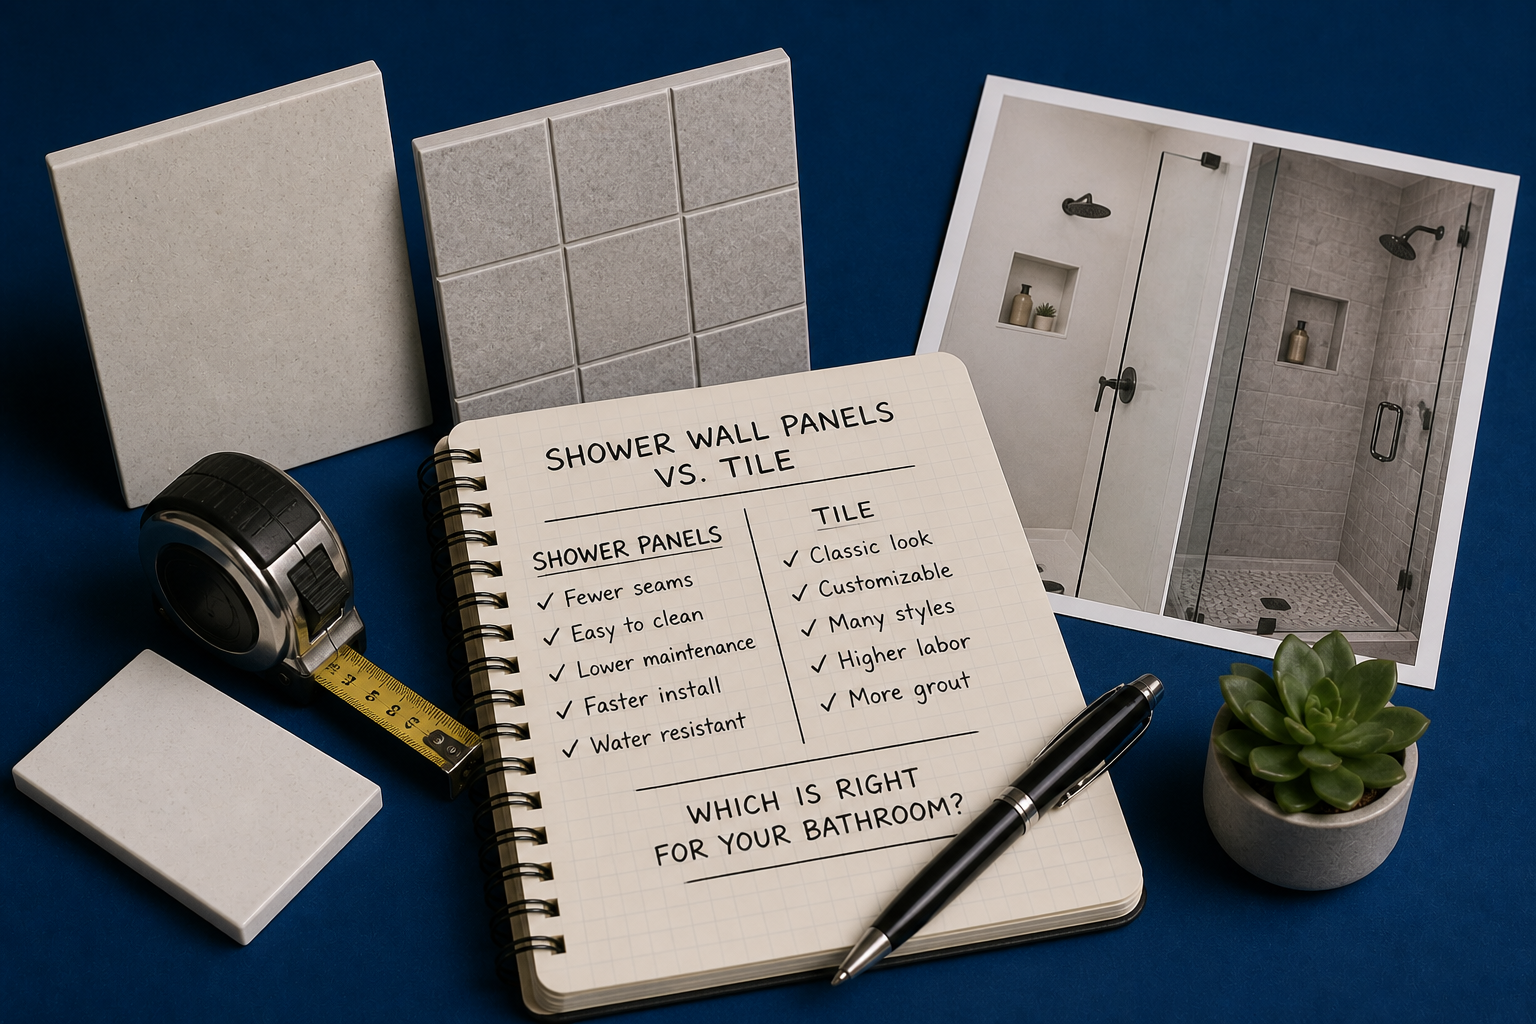
Once the foundation is right, the visible work starts. Tile showers require layout planning, cuts, waterproofing discipline, and patience. Low-maintenance wall systems require accurate measurements, clean walls, correct adhesive, tight seams, and careful finishing. Vanities, toilets, flooring, trim, paint, lighting, fans, and hardware all have to come together in the right order.
The homeowner should not have to manage every trade or guess what is happening. You should know what phase the job is in, what is next, and when decisions are needed.
Make final material choices before demo starts whenever possible. Changing tile, fixtures, or layout midstream is one of the fastest ways to add cost and delay.
Step 5: Final Walkthrough and Punch List
A remodel is not finished when tools leave the room. It is finished when the homeowner can walk the space, understand what was done, check the details, and know how to care for the new bathroom.
We look at caulking, edges, trim, fixtures, drains, shower function, cleanup, and any small touch-ups. A clean finish is not just about appearance. It shows whether the contractor cared all the way through the last 5% of the job.
How Long Should a Bathroom Remodel Take?
A basic bathroom refresh can be 5–10 business days. A full bathroom remodel is usually 2–4 weeks depending on scope, inspections, materials, and hidden damage. Custom tile showers take longer than panel systems. Plumbing moves add time. Waiting on special-order materials adds time.
The important thing is not promising the fastest timeline. The important thing is giving a real timeline and communicating when something changes.
"Fast is good. Rushed is not. I would rather give you a realistic schedule than promise something cute and then drag you through excuses for three weeks."
How Devco Keeps the Process Cleaner
- Written proposal and clear scope before work starts
- Photo documentation when hidden issues are found
- Realistic timeline instead of sales promises
- Clean jobsite habits and respect for the home
- Direct communication with Brian, not a call center
If you want a bathroom remodel that feels organized instead of chaotic, the process matters as much as the finished photo.